> For the complete documentation index, see [llms.txt](https://docs.ilsas.uniwa.gr/llms.txt). Markdown versions of documentation pages are available by appending `.md` to page URLs; this page is available as [Markdown](https://docs.ilsas.uniwa.gr/urungi/english/urungi-user-manual/6.-accounts.md).

# 6. Accounts

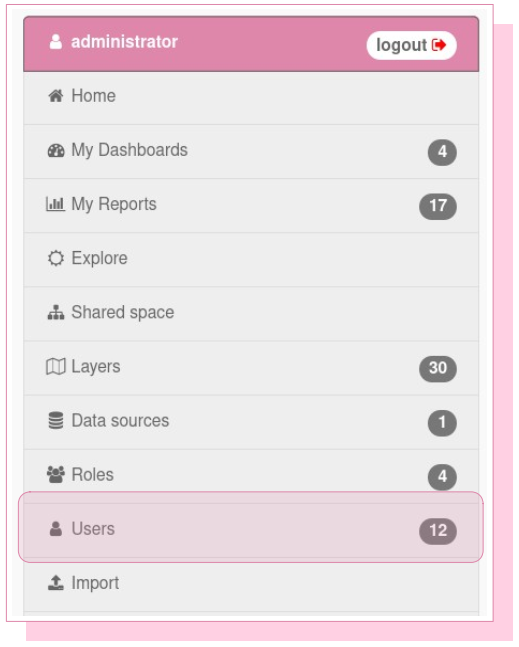
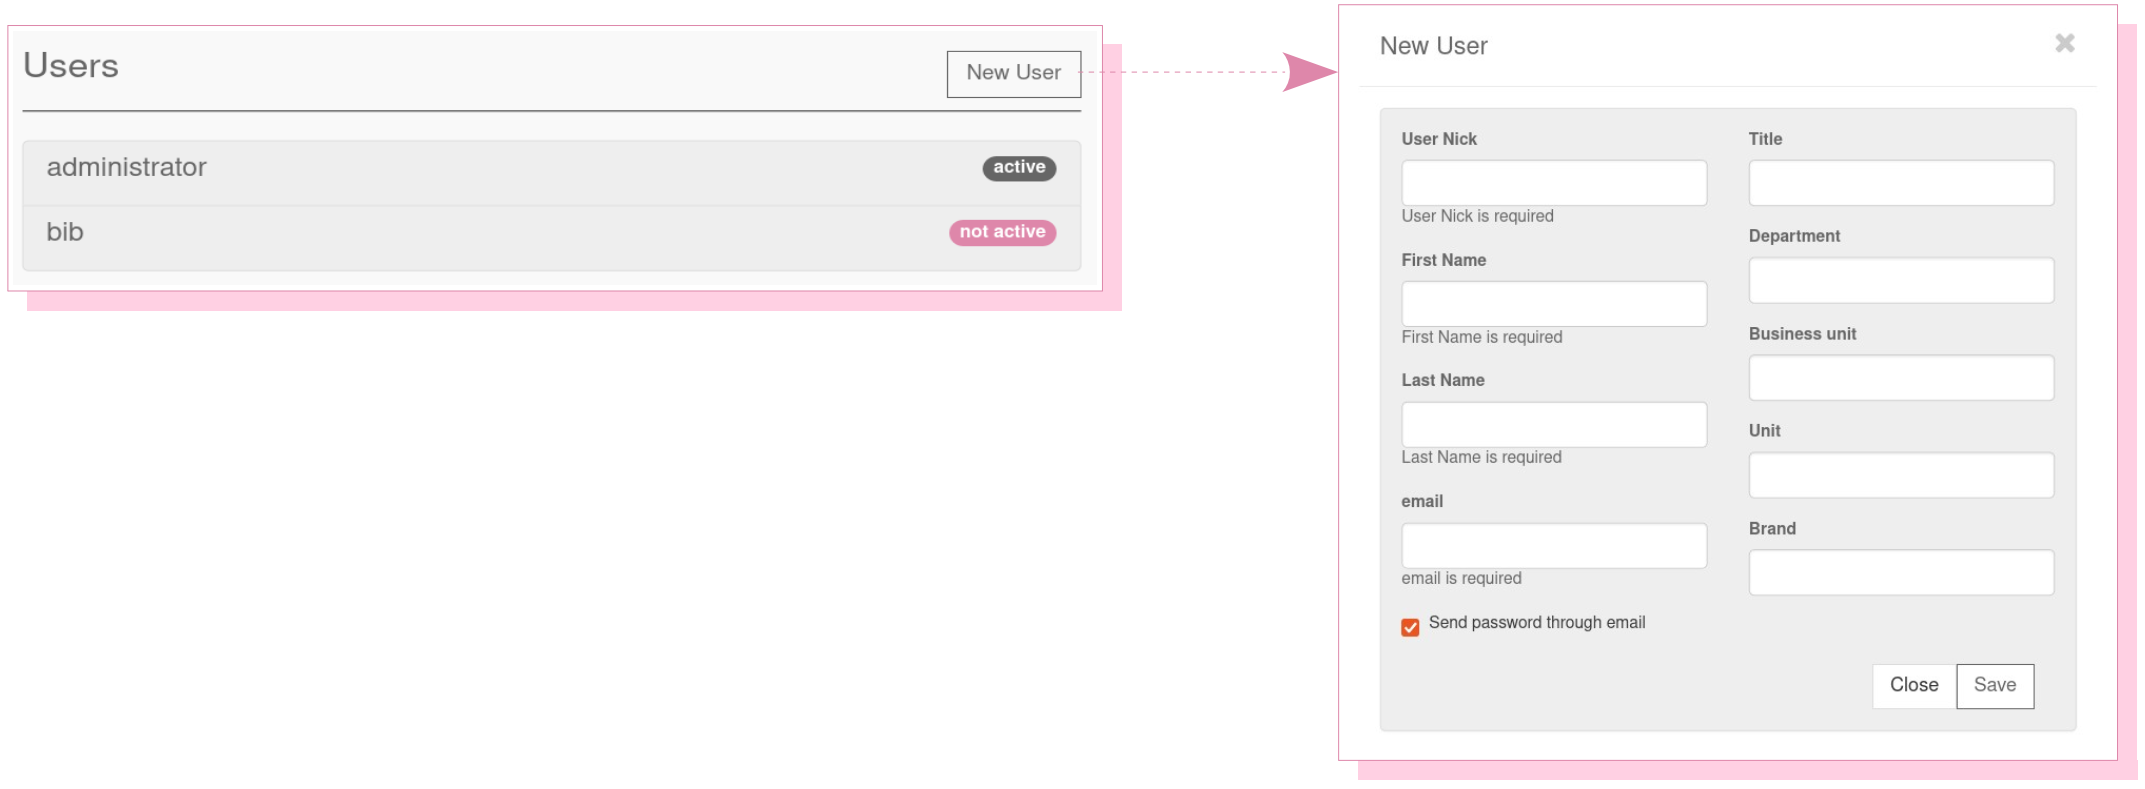
From the 'Users' menu you can add login accounts to Urungi. These accounts are associated with a role corresponding to a series of permissions.

An email is required to create an account in order to send the password for it.

<figure><img src="https://3718367919-files.gitbook.io/~/files/v0/b/gitbook-x-prod.appspot.com/o/spaces%2FHYD6v80mPzqhNDaFBQmm%2Fuploads%2Fgit-blob-a70a4becd91c0b0757b955299f3ab71405fea076%2Furungi-36-1.png?alt=media" alt="" width="389"><figcaption></figcaption></figure>

### 6.1 Add a User

<figure><img src="https://3718367919-files.gitbook.io/~/files/v0/b/gitbook-x-prod.appspot.com/o/spaces%2FHYD6v80mPzqhNDaFBQmm%2Fuploads%2Fgit-blob-73fdecb8d5a7dc5ceb4428654f9eda84e496a996%2Furungi-36-2.png?alt=media" alt="" width="563"><figcaption></figcaption></figure>

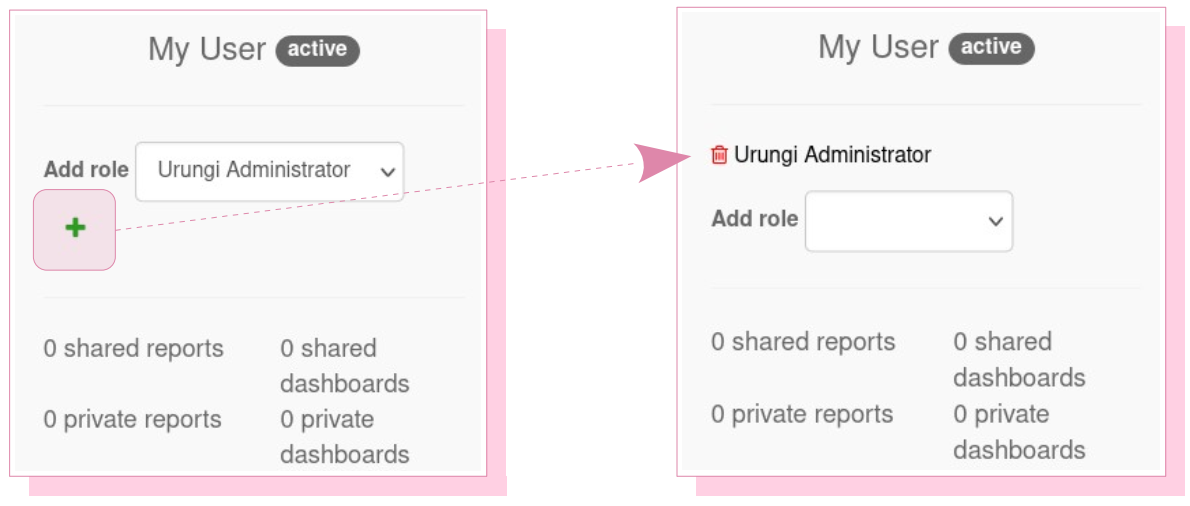
Then, you have to associate the new account to a role. Remember to click on the green cross to add the role!

<figure><img src="https://3718367919-files.gitbook.io/~/files/v0/b/gitbook-x-prod.appspot.com/o/spaces%2FHYD6v80mPzqhNDaFBQmm%2Fuploads%2Fgit-blob-60130fbabaa4fddd019a7e216969bf1878fdb1cf%2Furungi-36-3.png?alt=media" alt="" width="563"><figcaption></figcaption></figure>

### 6.2 Roles

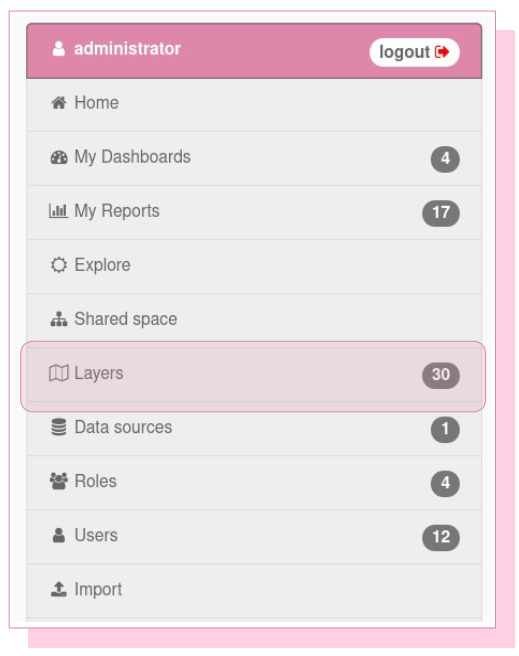
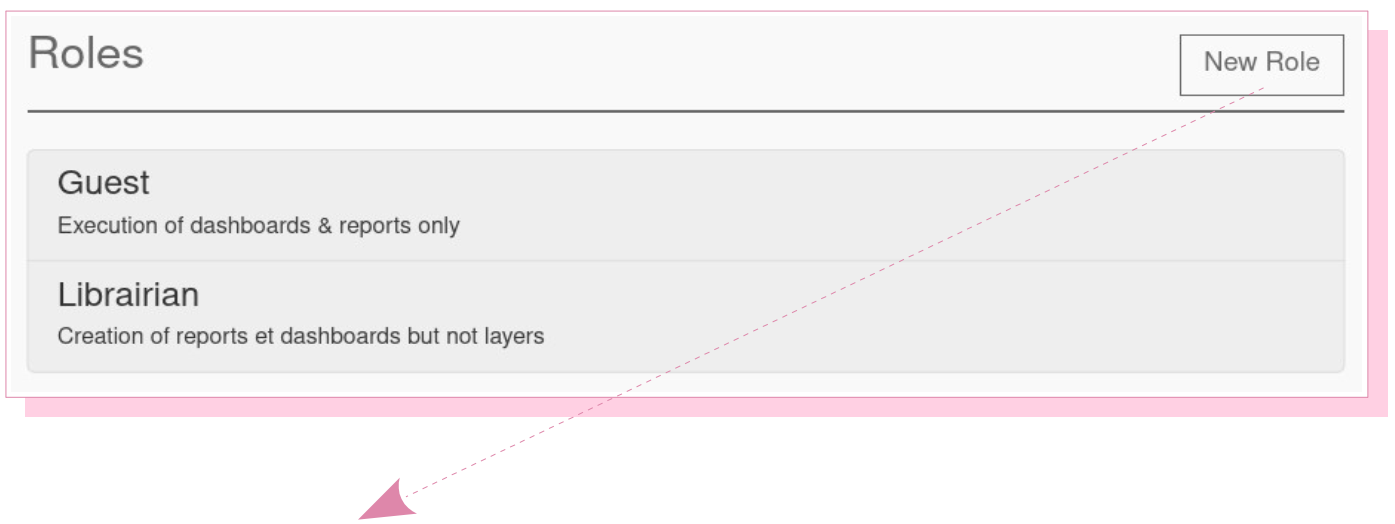
The management of roles is done from the 'Roles' menu.

<figure><img src="https://3718367919-files.gitbook.io/~/files/v0/b/gitbook-x-prod.appspot.com/o/spaces%2FHYD6v80mPzqhNDaFBQmm%2Fuploads%2Fgit-blob-2998d7072f9e5cf5dd81fdff5622f0f62ade78a7%2Furungi-37-1.png?alt=media" alt="" width="389"><figcaption></figcaption></figure>

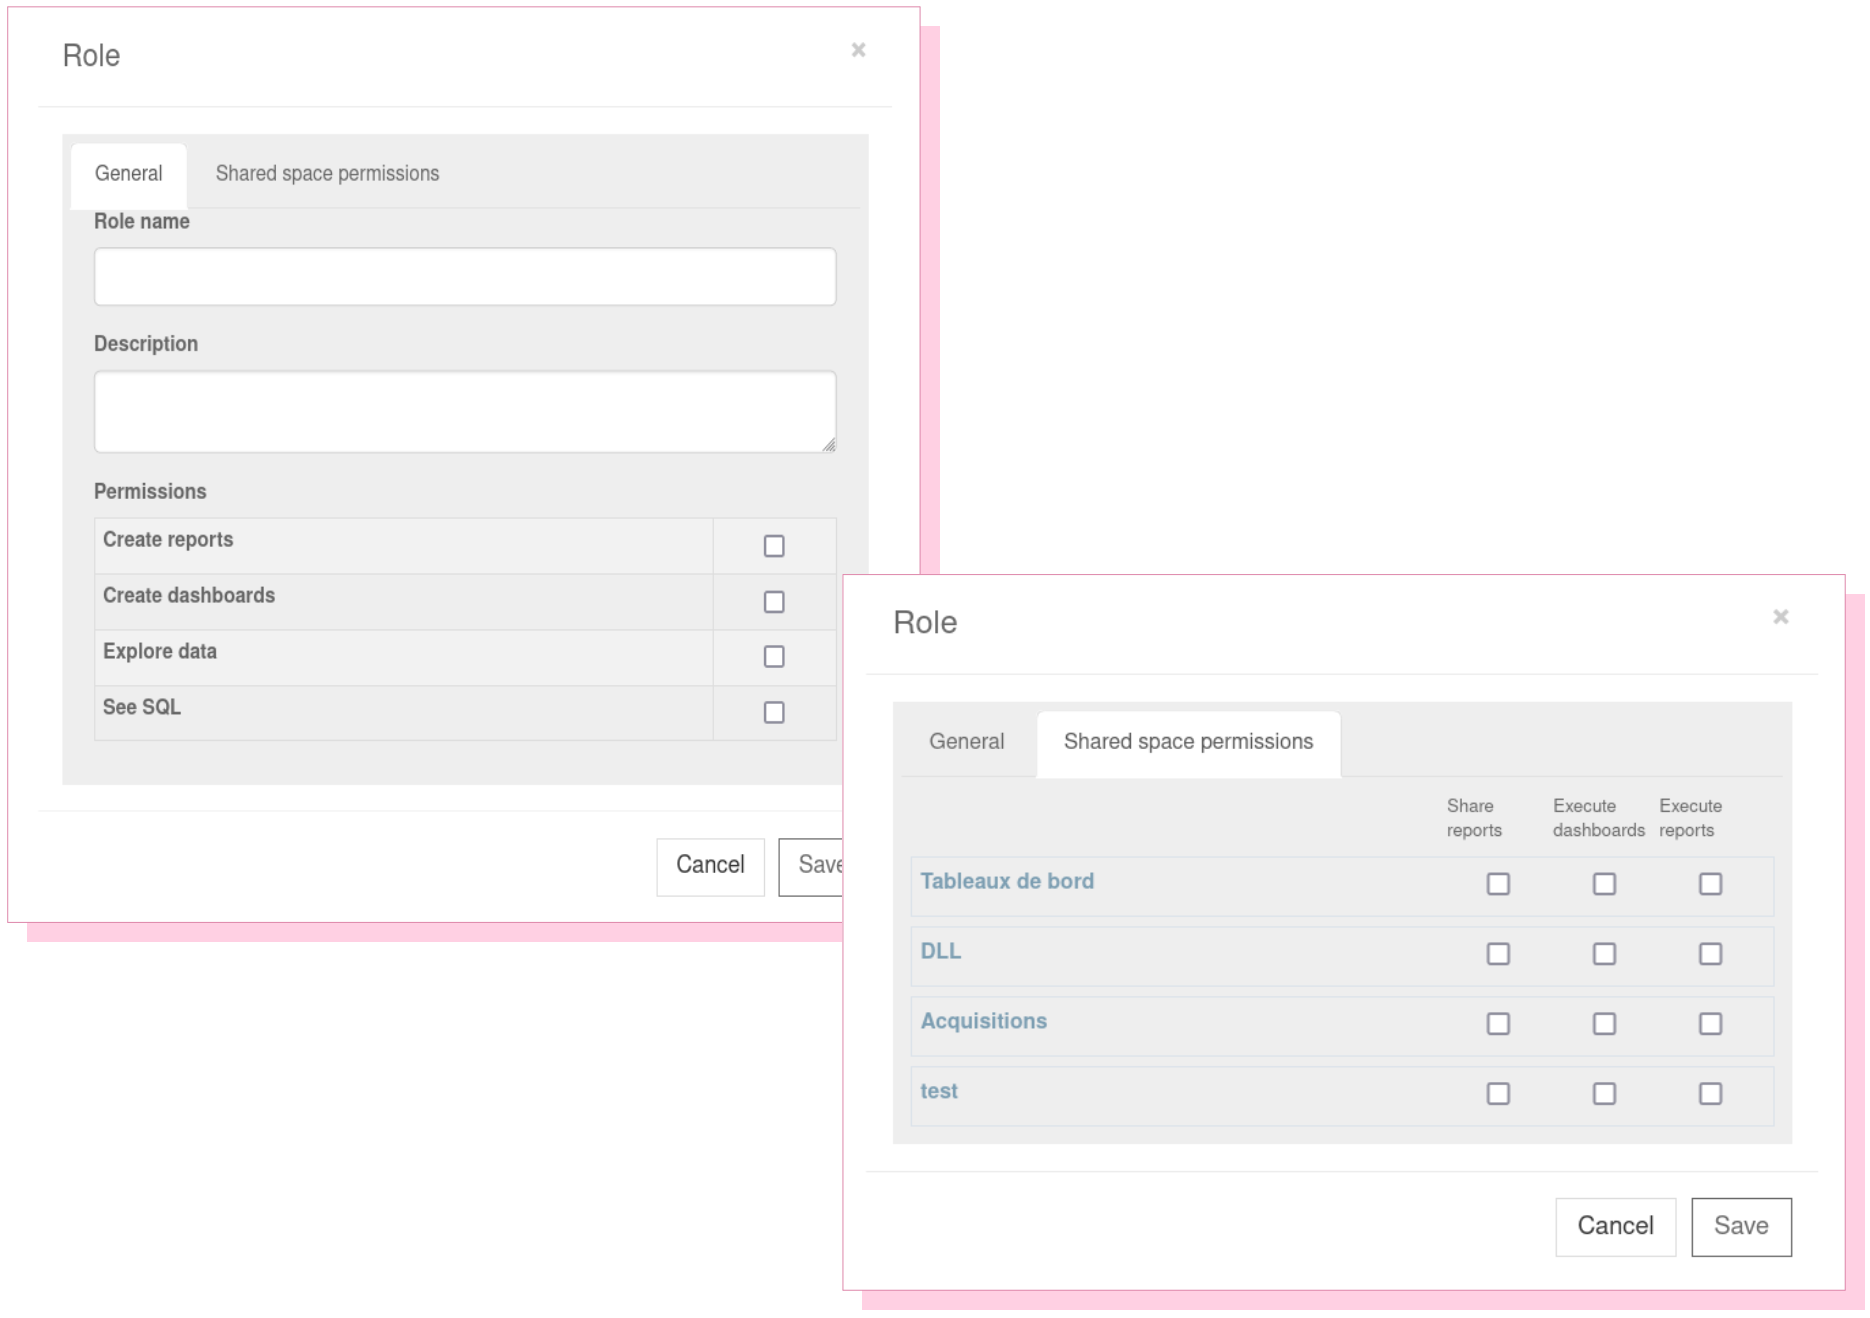
To add a new role, click on 'New Role' and associate the corresponding permissions to the new role:

<figure><img src="https://3718367919-files.gitbook.io/~/files/v0/b/gitbook-x-prod.appspot.com/o/spaces%2FHYD6v80mPzqhNDaFBQmm%2Fuploads%2Fgit-blob-294d0ed613fb196c393892ca81273c06e992be64%2Furungi-37-2.png?alt=media" alt="" width="563"><figcaption></figcaption></figure>

<figure><img src="https://3718367919-files.gitbook.io/~/files/v0/b/gitbook-x-prod.appspot.com/o/spaces%2FHYD6v80mPzqhNDaFBQmm%2Fuploads%2Fgit-blob-37bc21483d3842565a6cb0d983162d20aa34bcb5%2Furungi-37-3.png?alt=media" alt="" width="563"><figcaption></figcaption></figure>

### 6.3 Deactivate an Account

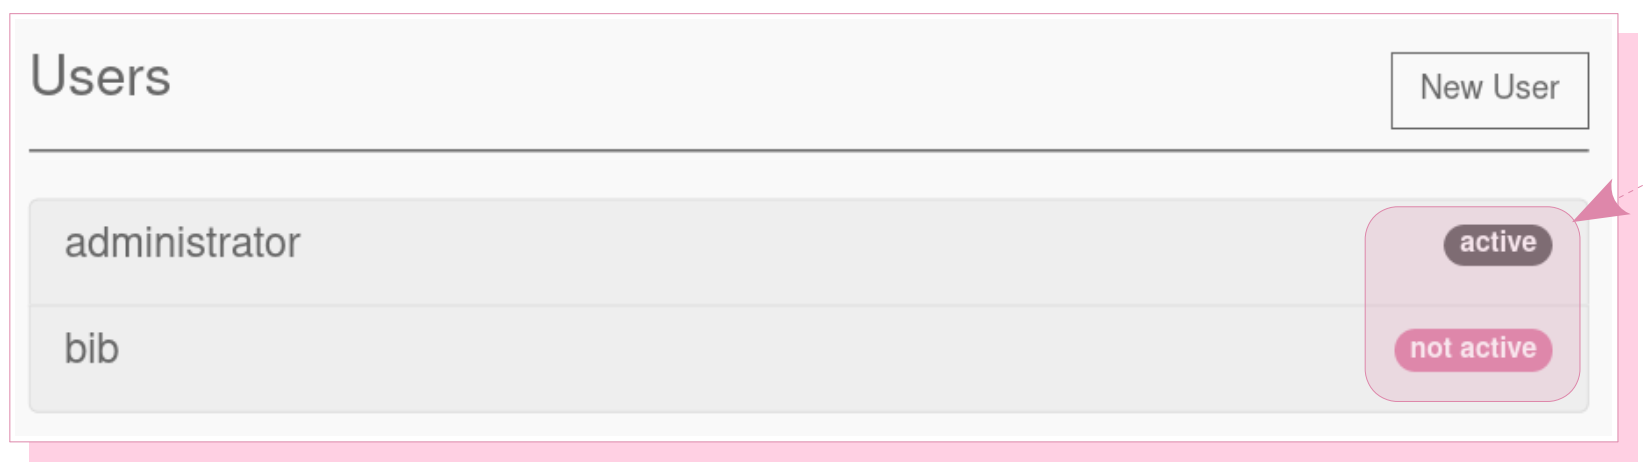
An account is active by default after its creation.

It is possible to deactivate an existing account by clicking on 'Active' and vice versa to reactivate it.
<figure><img src="https://3718367919-files.gitbook.io/~/files/v0/b/gitbook-x-prod.appspot.com/o/spaces%2FHYD6v80mPzqhNDaFBQmm%2Fuploads%2Fgit-blob-6aa3fd94d62fb4c4628bfa701720f7cfc4013971%2Furungi-38-1.png?alt=media" alt="" width="563"><figcaption></figcaption></figure>